
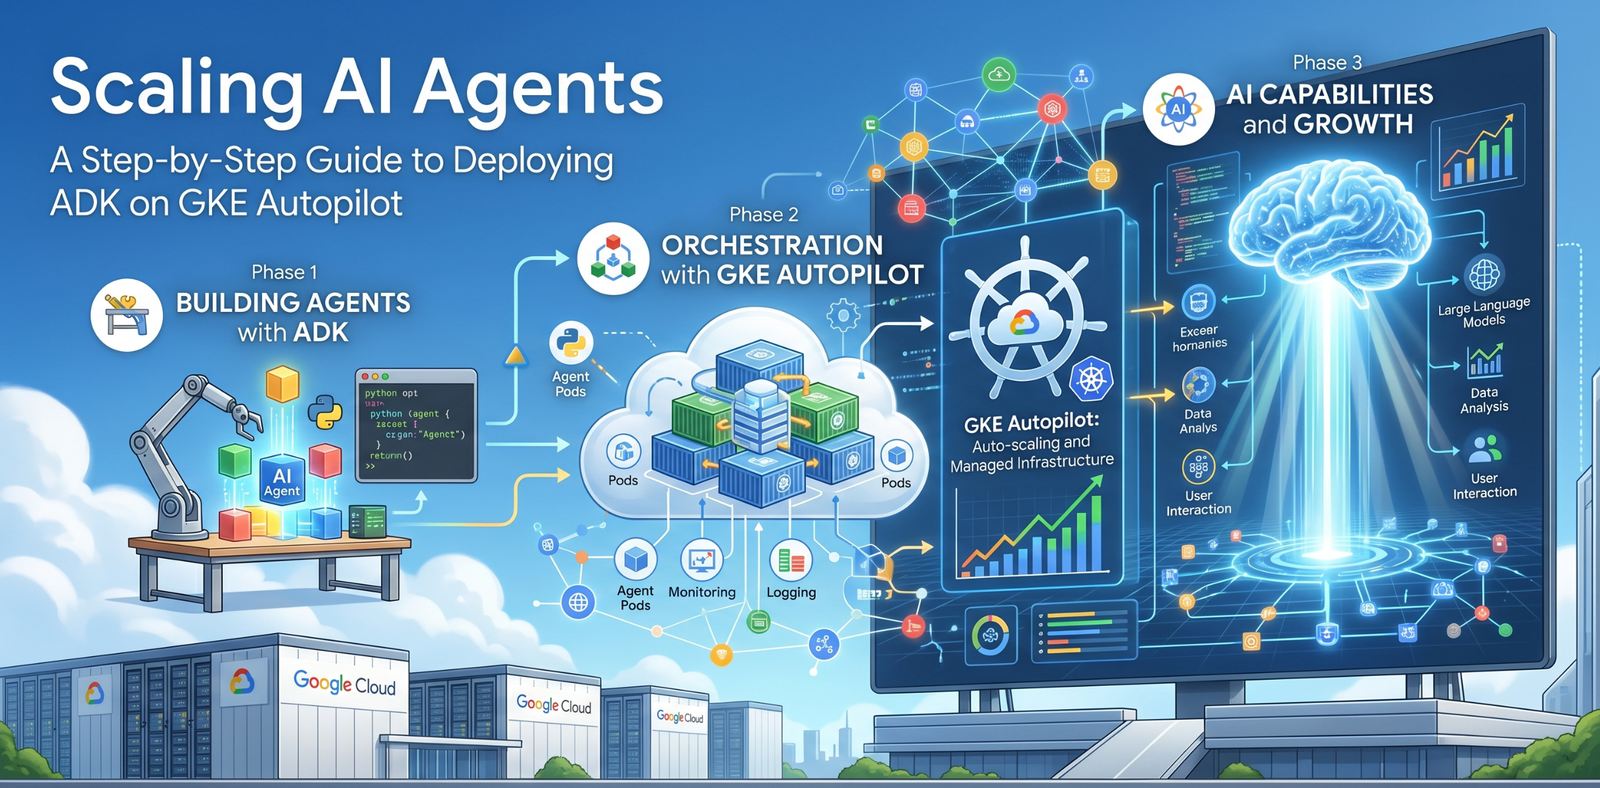
While building AI agents locally using Google’s Agent Development Kit (ADK) is an excellent way to prototype, production-ready agents require a robust, scalable infrastructure. For developers looking to move beyond simple instances and into the world of managed container orchestration, Google Kubernetes Engine (GKE) Autopilot offers the perfect balance of flexibility and ease of use.
In this tutorial, I will walk you through building a technical agent with ADK and deploying it to GKE Autopilot. We will focus on utilizing Gemini on Vertex AI as the core model and ensure highest security standards by implementing Workload Identity for permission management.
Understanding the GKE ADK Architecture
Deploying an ADK agent on GKE Autopilot involves more than just running a container. We leverage GKE’s native capabilities to handle scaling and security. Our architecture consists of an ADK-based Python application packaged as a Docker image and stored in Artifact Registry. This container runs as a Deployment on GKE Autopilot, where it communicates securely with Vertex AI using Workload Identity—mapping a Kubernetes Service Account to a Google Cloud IAM Service Account.
To expose the agent to the world, we use the Kubernetes Gateway API, the modern successor to Ingress, which provides a cleaner separation of concerns and native support for Google Cloud Load Balancing.
Prerequisites
Before we begin, ensure you have the following tools and accounts ready:
- Python 3.10 or higher.
- uv for package management.
- Google Cloud SDK (gcloud) installed and configured.
- A Google Cloud project with billing enabled.
- kubectl command-line tool.
- jq for parsing JSON responses.
- The following APIs enabled: Kubernetes Engine, Artifact Registry, and Vertex AI.
Step 0: Configuring Google Cloud and Authentication
Before interacting with Google Cloud services, you must authenticate your environment and set the active project. This ensures that both the gcloud CLI and your local Python environment can access Vertex AI.
- Login to Google Cloud SDK:
gcloud auth login - Set your active project:
gcloud config set project [PROJECT_ID] - Setup Application Default Credentials (ADC): This is crucial for the ADK library to authenticate with Vertex AI during local testing.
gcloud auth application-default login - Define Environment Variables: To ensure we can easily reuse our configuration in subsequent steps, let’s export our project, region, and cluster name as environment variables.
export PROJECT_ID=$(gcloud config get-value project) export REGION=us-central1 export CLUSTER_NAME=adk-cluster
Step 1: Provisioning GKE Autopilot
GKE Autopilot is the recommended way to run Kubernetes without managing nodes. It allows you to focus on your agent deployment while Google manages the infrastructure. Starting the cluster creation now allows it to provision in the background while we build the agent.
gcloud container clusters create-auto $CLUSTER_NAME –region $REGION
While the cluster is provisioning, we can move on to building our agent.
Step 2: Building the Agent with ADK
First, let’s create our agent. Start by creating a folder for the agent code:
mkdir adk-agent cd adk-agent
Initialize a new Python project with uv:
uv init
Add dependencies
uv add google-adk
Create a new agent using the adk cli
uv run adk create weather_agent
You will be asked to choose a model for the root agent. Choose gemini-2.5-flash (Number 1). Next you will be asked to choose a backend. Choose Vertex AI (Number 2). Next you will be asked to enter your Google Cloud project ID. Enter your project ID. Next you will be asked to enter your Google Cloud region. Choose a region of your choice. Example: us-central1.
The previous command scaffolded a new directory weather_agent with the following structure:
weather_agent/ ├── .env ├── __init__.py └── agent.py
ADK requires the agent code to be in agent.py file. Let’s edit the agent.py file to add a simple tool for the agent.
from google.adk import Agent # Define a simple tool for the agent def get_weather(city: str) -> str: “””Returns the current weather in a city.””” return f”The weather in {city} is 90 degrees Fahrenheit and sunny.” # Initialize the agent with Vertex AI and Gemini root_agent = Agent( name=”weather_agent”, model=”gemini-2.5-pro”, tools=[get_weather] )
The agent.py file is the entry point for the agent. It is used to define the agent and its tools. The get_weather function is a simple tool that returns the current weather in a city. For the purpose of this tutorial, we are using a hardcoded value for the weather. In a real-world scenario, you would use an API to get the current weather.
Step 3: Testing the Agent Locally
Before deploying the agent to GKE Autopilot, we need to test it locally to ensure it works as expected. Run the following command to start the agent in debug mode with the web UI:
uv run adk web
Open http://localhost:8000 in your browser and you should see the ADK web UI. You can then interact with your agent by typing messages in the chat interface.
If the agent returns a message like “The weather in [CITY] is 90 degrees Fahrenheit and sunny.” Congratulations! your ADK agent is working. Now you can proceed to the next step.
Step 4: Preparing for GKE Autopilot
The ADK cli has a built-in command to deploy the agent to GKE Autopilot. However the default settings are not suitable for a production environment. For example, the default settings do not use Workload Identity for authentication with Vertex AI and to expose the Web UI via a Load Balancer on port 80.
We will instead manage the lifecycle of the container ourselves. First we need to containerize the agent.
Create a .dockerignore file in the adk-agent directory to prevent your local virtual environment from being copied into the image:
.venv .adk __pycache__ *.pyc .env
Create a Dockerfile for your agent in the adk-agent directory. We will use a multi-stage build to keep the final production image lightweight and secure:
# Stage 1: Build the virtual environment FROM python:3.10-slim AS builder # Install uv COPY –from=ghcr.io/astral-sh/uv:latest /uv /uvx /bin/ # Set working directory WORKDIR /app # Force uv to use the system Python and use copy instead of symlinks ENV UV_PYTHON_PREFERENCE=only-system ENV UV_LINK_MODE=copy ENV UV_COMPILE_BYTECODE=1 ENV UV_PYTHON=/usr/local/bin/python3 # Install dependencies # We copy only files needed for installation to maximize cache COPY pyproject.toml uv.lock ./ # Note: We don’t use –frozen yet as the host lock file might be slightly out of sync # but sync will update it in the builder stage. RUN uv sync –no-install-project –no-dev –no-cache # Copy the agent code COPY . . # Sync the project itself RUN uv sync –no-dev –no-cache # Stage 2: Runtime image FROM python:3.10-slim WORKDIR /app # Copy the pre-built environment from the builder COPY –from=builder /app/.venv /app/.venv # Copy the application code (including weather_agent folder) COPY . . # Add the environment to the PATH ENV PATH=”/app/.venv/bin:$PATH” ENV PYTHONUNBUFFERED=1 # Run the ADK API server # We point to the weather_agent folder CMD [“adk”, “api_server”, “.”, “–host”, “0.0.0.0”, “–port”, “8080”]
Build and push the image to Artifact Registry:
# Create repository gcloud artifacts repositories create adk-repo –repository-format=docker –location=$REGION # Build and push gcloud builds submit –tag $REGION-docker.pkg.dev/$PROJECT_ID/adk-repo/gke-agent:latest
Step 5: Implementing Workload Identity for Security
Security is paramount. Instead of hardcoding API keys, we use Workload Identity to grant the GKE pod permission to access Vertex AI.
1. Create an IAM Service Account:
gcloud iam service-accounts create adk-gke-sa
2. Grant Vertex AI permissions:
gcloud projects add-iam-policy-binding $PROJECT_ID –member=”serviceAccount:adk-gke-sa@$PROJECT_ID.iam.gserviceaccount.com” –role=”roles/aiplatform.user”
3. Allow the Kubernetes Service Account to impersonate the IAM SA:
gcloud iam service-accounts add-iam-policy-binding adk-gke-sa@$PROJECT_ID.iam.gserviceaccount.com –role=”roles/iam.workloadIdentityUser” –member=”serviceAccount:$PROJECT_ID.svc.id.goog[default/adk-ksa]”
Step 6: Deploying the Agent to GKE
Now, we define the Kubernetes resources. Create a deployment.yaml that includes the Service Account annotation for Workload Identity. Replace $PROJECT_ID and $REGION with your actual project ID and region.
apiVersion: v1 kind: ServiceAccount metadata: name: adk-ksa annotations: iam.gke.io/gcp-service-account: adk-gke-sa@$PROJECT_ID.iam.gserviceaccount.com — apiVersion: apps/v1 kind: Deployment metadata: name: adk-agent spec: replicas: 2 selector: matchLabels: app: adk-agent template: metadata: labels: app: adk-agent spec: serviceAccountName: adk-ksa containers: – name: adk-agent image: $REGION-docker.pkg.dev/$PROJECT_ID/adk-repo/gke-agent:latest resources: requests: cpu: “500m” memory: “512Mi” limits: cpu: “1” memory: “1Gi” ports: – containerPort: 8080 — apiVersion: v1 kind: Service metadata: name: adk-service spec: selector: app: adk-agent ports: – port: 80 targetPort: 8080
Apply the configuration:
kubectl apply -f deployment.yaml
Check the status of the deployment:
kubectl get pods -w
Once the pods are running, you can use kubectl port-forward to access the agent locally:
kubectl port-forward svc/adk-service 8080:80
Since we deployed the agent without Web UI, we can’t access it at http://localhost:8080. However, we can still interact with it using the API and curl.
In a new terminal, run the following commands:
# Create a new session curl -X POST http://localhost:8080/apps/weather_agent/users/u_123/sessions/s_123 # Run a message curl -s -X POST http://localhost:8080/run -H “Content-Type: application/json” -d ‘{ “appName”: “weather_agent”, “userId”: “u_123”, “sessionId”: “s_123”, “newMessage”: { “role”: “user”, “parts”: [{ “text”: “Hey whats the weather in new york today” }] } }’ | jq .
The curl command will return the response in JSON format. The jq command is used to parse the JSON response and display it in a more readable format. . You should see a response like:
{ “sessionId”: “s_123”, “messages”: [ { “role”: “assistant”, “parts”: [ { “text”: “The weather in New York today is sunny with a high of 90 degrees Fahrenheit.” } ] } ] }
(Optional) Step 7: Exposing via Gateway API and HTTPS load balancer
Finally, we expose the agent using the GKE Gateway API with a Google-managed TLS certificate. This is the recommended, production-grade approach — Google will automatically provision and renew the certificate for your domain.
NB: GKE supports other options to provision certificates. You can use Let’s Encrypt with cert-manager, pre-shared certificates, or any other certificate authority. You can check the GKE documentation for more details.
First, reserve a static IP address for your load balancer:
gcloud compute addresses create adk-agent-ip –global export AGENT_IP=$(gcloud compute addresses describe adk-agent-ip –global –format=”value(address)”) echo “Your IP: $AGENT_IP”
Point your domain’s DNS A record at $AGENT_IP. Example: adk.mydomain.com
Create a Google-Managed Certificate. Replace adk.yourdomain.com with your actual domain::
gcloud compute ssl-certificates create adk-cert –domains adk.yourdomain.com –global
Create a gateway.yaml with the following content:
# Gateway: HTTPS load balancer with the managed certificate and static IP apiVersion: gateway.networking.k8s.io/v1 kind: Gateway metadata: name: adk-gateway spec: gatewayClassName: gke-l7-global-external-managed listeners: – name: https protocol: HTTPS port: 443 tls: mode: Terminate options: networking.gke.io/pre-shared-certs: adk-cert addresses: – type: NamedAddress value: adk-agent-ip — # HTTPRoute: forward traffic to the ADK service apiVersion: gateway.networking.k8s.io/v1 kind: HTTPRoute metadata: name: adk-route spec: parentRefs: – name: adk-gateway hostnames: – “api.yourdomain.com” rules: – backendRefs: – name: adk-service port: 80 — apiVersion: networking.gke.io/v1 kind: HealthCheckPolicy metadata: name: adk-health namespace: default spec: default: checkIntervalSec: 15 timeoutSec: 5 healthyThreshold: 1 unhealthyThreshold: 2 logConfig: enabled: false config: type: HTTP httpHealthCheck: port: 8080 requestPath: /health targetRef: group: “” kind: Service name: adk-service
Apply the configuration:
kubectl apply -f gateway.yaml
Certificate provisioning can take up to 20 minutes. Monitor the status with:
gcloud compute ssl-certificates describe adk-cert –global
Once the status shows Active, your agent is live at https://api.yourdomain.com. You can test it with:
# Create a new session curl -X POST https://api.yourdomain.com/apps/weather_agent/users/u_124/sessions/s_124 # Run a message curl -s -X POST https://api.yourdomain.com/run -H “Content-Type: application/json” -d ‘{ “appName”: “weather_agent”, “userId”: “u_124”, “sessionId”: “s_124”, “newMessage”: { “role”: “user”, “parts”: [{ “text”: “Hey whats the weather in new york today” }] } }’ | jq .
Conclusion & Looking Ahead
By following these steps, you have successfully deployed a production-ready AI agent built with ADK onto GKE Autopilot that invokes Gemini on Vertex AI with Workload Identity for authentication. This setup ensures that your agent can scale horizontally to meet demand while maintaining a high security posture.
As you look ahead, consider integrating more complex tools or leveraging GKE’s multi-cluster capabilities for even greater resilience. For more details on the technologies used here, explore the official GKE documentation and the ADK repository.
To avoid ongoing charges, remember to delete the GKE cluster and the Artifact Registry repository when finished:
kubectl delete -f gateway.yaml kubectl delete -f deployment.yaml gcloud compute addresses delete adk-agent-ip –global gcloud compute ssl-certificates delete adk-cert –global gcloud container clusters delete $CLUSTER_NAME –region $REGION gcloud artifacts repositories delete adk-repo –location $REGION


